Metamk: payable features Metamk
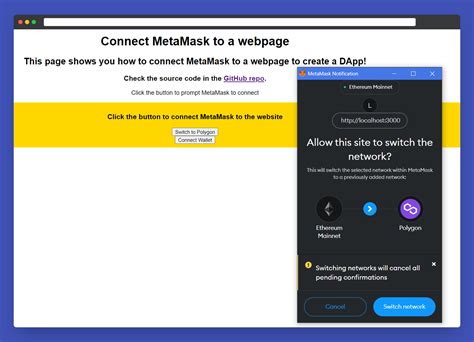
As a developer, more than just writing a code is needed for interaction with smart contracts; It also requires you to manage your funds. One of the main libraries for interaction with Ethereum’s smart contracts on the web is Metamk. In this article, we will study how to use the features to be used in Metamask.
What are payable features?
The functions that you pay, also known as calling features, allow you to carry out contracts without sending funds from your wallet. They are especially useful for managing smart contracts that require user entry or special activities such as creating new wallets or sending transactions.
Using Metamascas with Features Features
To use payable features in Metamask, follow the following:
1. Create a Web3 service provider
Before you can interact with the contract using the functions you pay, you need to set up the Web3 service provider Metamk. This can be done by following the instructions on the Metamk documentation page or by creating your own custom Web3 service provider.
2. Install Ethers.Js Library
To use Metamk with the features you pay, you will also need to install the Ethers.Js Library, which provides a simple and intuitive API interaction with Ethereum’s smart contracts.
Here is an example of how to install ethers in your project:
`bash
NPM install the eths
`
3. Create a payable function contract
Create a new contract that determines the function you pay. In this example, we will establish a contract called “MyContract”, which allows users to send an ether to the contract.
Here are some contract code:
`JavaScript
Const mycontract = {
Functions: {
Transferfunds: {
Inputs: [
{
Name: ‘of’,
Type: “Address”,
Required: True,
},
{
Name: ‘to’,
Type: “Address”,
Required: True,
},
{
Name: “Value”,
Type: ‘uint256’,
Required: True,
},
]
},
},
};
`
In this example, the “Transferfunds” feature has three arguments:
No: Address that will receive ether
- to ‘: the address that will send the ether
Value ': The sum of the transfer ether
4. Use Metamass with contract
To use the function of payable in Metamask, you will need to create a new contract and hand over the Web3 service provider.
Here is an example of a code fragment:
JavaScript
Import {web3} from ‘Web3’;
Const Web3 = New Web3 ();
Const Agreement = New MyContract ();
Web3.eth.accounts.sendtransaction ({
NO: Web3.ethaccounts [0], // Your own Ethereum Account Address
to: contract.address, // Agreement address
Value: Web3.Util.Towei (‘1’, ‘ether’), // The amount of ether is sent
}, (error, transactionhash) => {
IF (error) {
Console.Error (error);
} else {
Console.log (Transaction Successful: $ {transactionhash});
}
});
`
an example of use of usage
Here is an example of use that shows how to use payable features in metamask:
Let’s say you have a contract called “MyContract” that allows users to send an ether to the contract. You are creating a new contract and handing it over to the Web3 service provider:
`JavaScript
Import {web3} from ‘Web3’;
Const Web3 = New Web3 ();
Const Agreement = New MyContract ();
// Create a new deal
contract.Transfunds ({
NO: Web3.ethaccounts [0], // Your own Ethereum Account Address
to: Web3.ethaddresses [1], // Other User Address in Block Chain
Value: Web3.Util.Towei (‘1’, ‘ether’), // The amount of ether is sent
}, (error, transactionhash) => {
IF (error) {
Console.Error (error);
} else {
Console.